Silksong does not hold back. From the moment you enter Pharloom, the game sets a new standard for difficulty. Enemies hit harder, healing is riskier, and the pace of combat is faster than ever. Even seasoned veterans of Hollow Knight will find themselves humbled in the early hours.
But the bosses? The bosses are on another level entirely.
Every major boss in Silksong is designed to test a different part of your skillset. Some overwhelm you with relentless aggression, others demand flawless timing, and a few stretch into long, multi-phase gauntlets. These fights are not just obstacles. They are milestones that force you to sharpen your build, your movement, and your focus.
While the main story bosses are no joke, it is the optional fights that truly separate the skilled from the stubborn. Hidden behind secret paths, late-game quests, or obscure requirements, these encounters are some of the most brutal challenges Team Cherry has ever designed. If you're chasing 100 percent completion, prepare to suffer; Silksong saves its hardest punches for those who go looking for them.
In this article, we’ll break down the most difficult bosses in Silksong, ranked by how punishing, complex, and unforgettable they are.
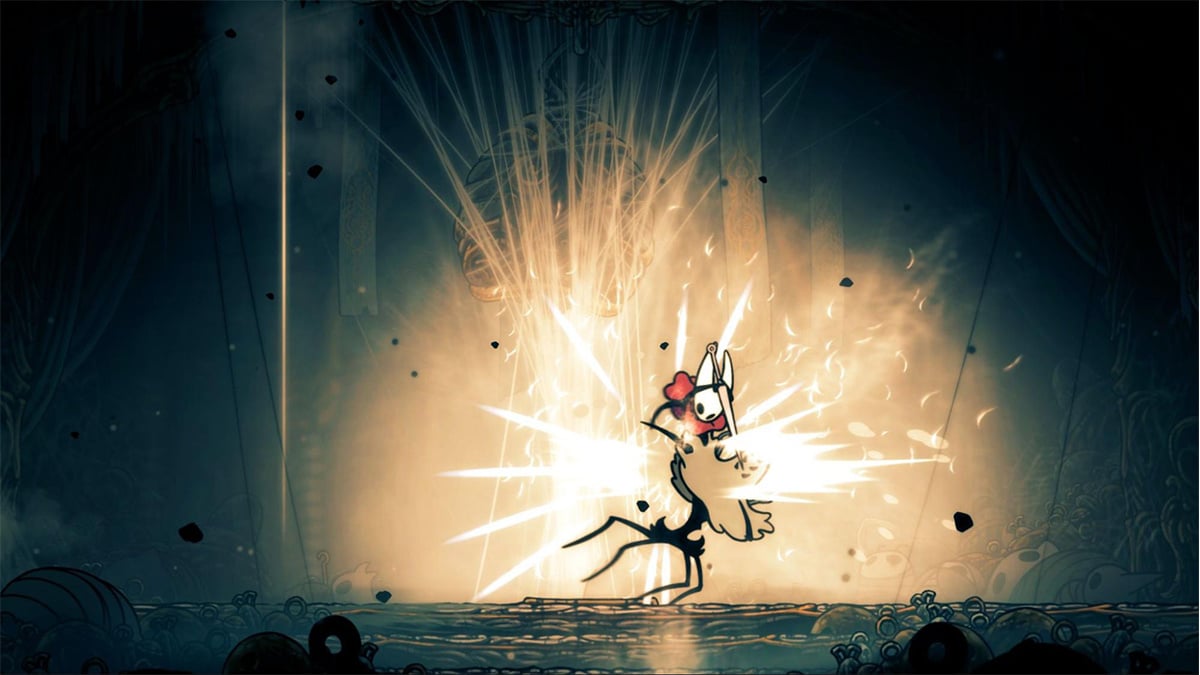
1. Savage Beast Fly (Lava room version)
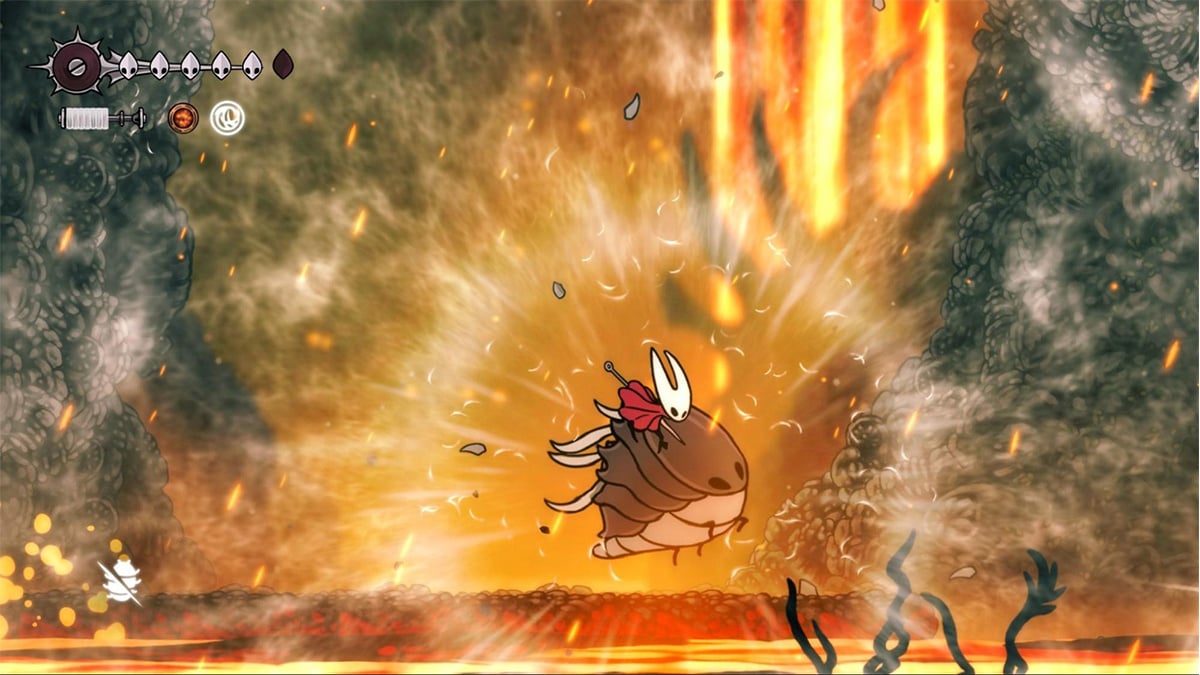
The regular Savage Beast Fly is already a brutal fight, throwing its massive body around a tight arena, dealing two-mask damage per hit, and summoning flying bugs that can trap or clip you mid-movement. The Lava Room version cranks everything up by introducing breakable floor tiles suspended over lava. Each of the six tiles shatters on impact from the boss’s slam attack and takes 10 to 15 seconds to respawn. Falling in means another two-mask penalty, and with limited footing, the fight quickly becomes a deadly platforming test.
To make things worse, the flying bugs it summons in this version spit lava projectiles that also hit for two masks, often appearing in pairs during the boss’s most aggressive phases. It is a relentless mix of chaotic movement, tight positioning, and environmental punishment and somehow, this is only the first fight on the list.
2. Widow

Widow is a fast, precision-based boss found in Bellhart, serving as an assassin for the Grandmother of Silk. Armed with blades, silk-threaded bells, and relentless agility, she mixes chaotic projectile patterns with aggressive melee rushdowns. Her bouncing bell attacks scatter in all directions, her ground charge leaves trails of scraping metal, and her blade combos punish hesitation or panic dodging. The second phase is where things really heat up, with faster bells and tighter attack strings that give you almost no breathing room.
Widow feels like the game’s first real skill check, a turning point that separates casual exploration from serious boss gauntlets. Beat her, and you're ready for what Pharloom has in store.
3. Trobbio
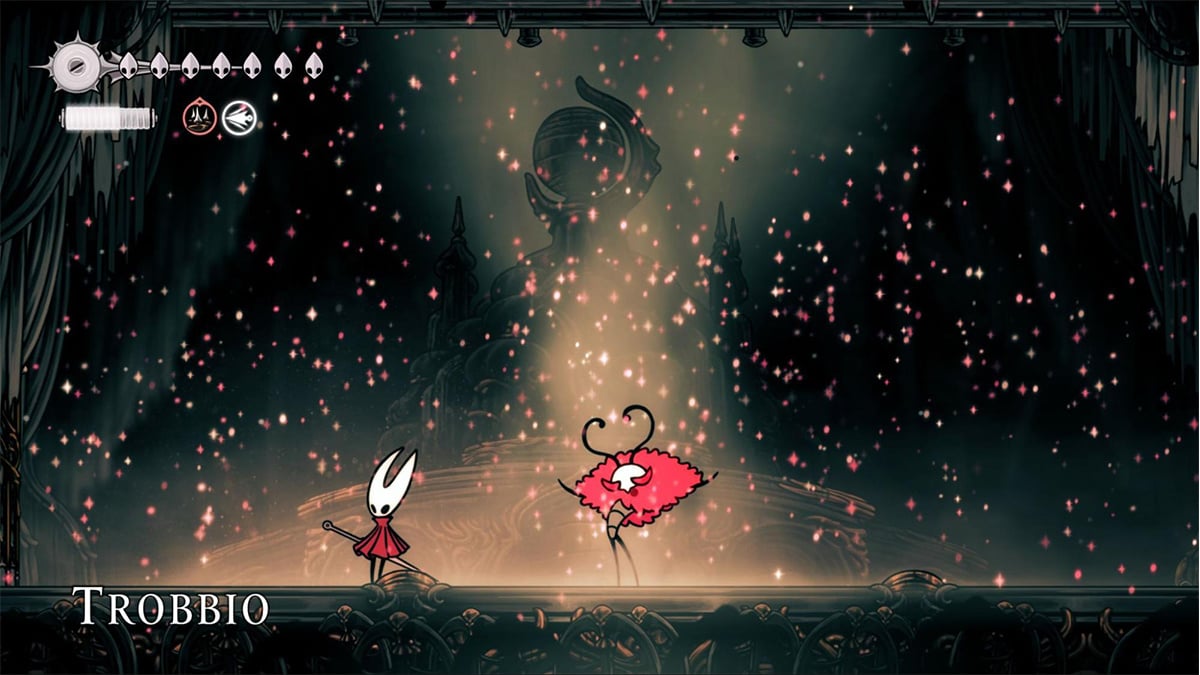
Trobbio is Pharloom’s most flamboyant menace, a stage-obsessed thespian who turns his arena in the Whispering Vaults into a literal death performance. He hurls explosive bombs that scatter fire, spins across the screen summoning unblockable tornadoes, and lights the stage with chaotic fireworks that punish bad positioning.
In phase two, fire jets begin erupting from beneath the stage while Trobbio bombards you from above, forcing you to juggle vertical movement with constant dodging. It’s a sensory overload, but his true danger lies in how unpredictable and theatrical his attacks are. With tight timing and proper spacing, you can survive the encore, but Trobbio doesn’t go down without making sure he’s the star of the show.
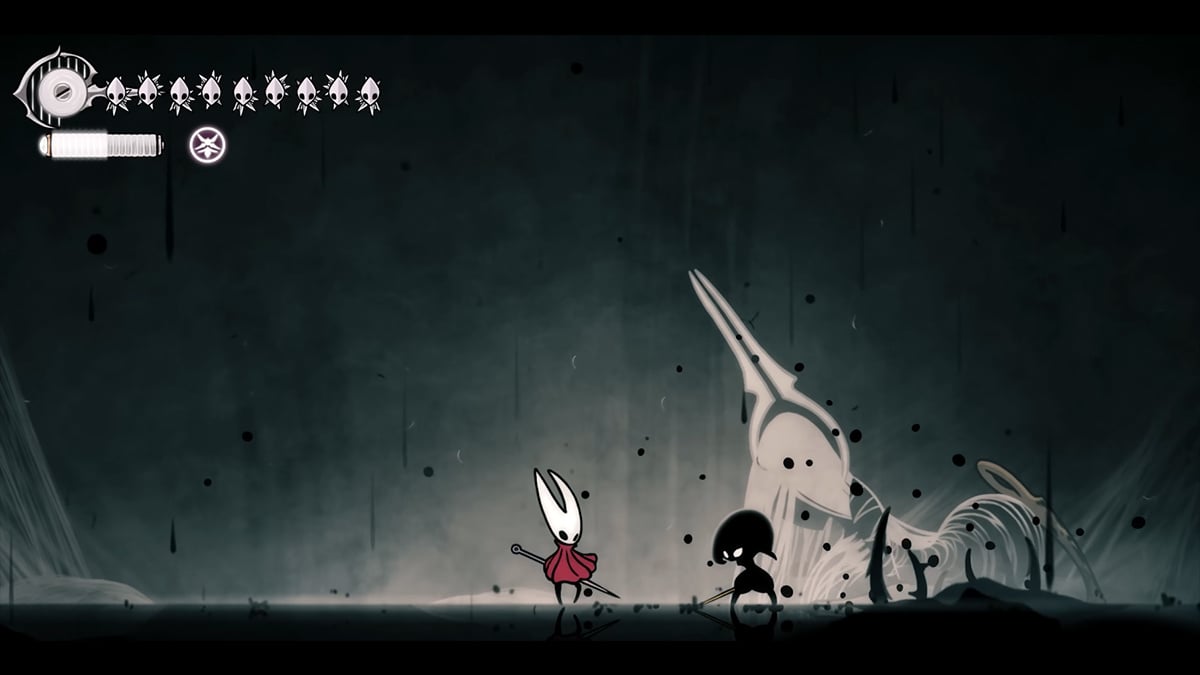
4. Disgraced Chef Lugoli
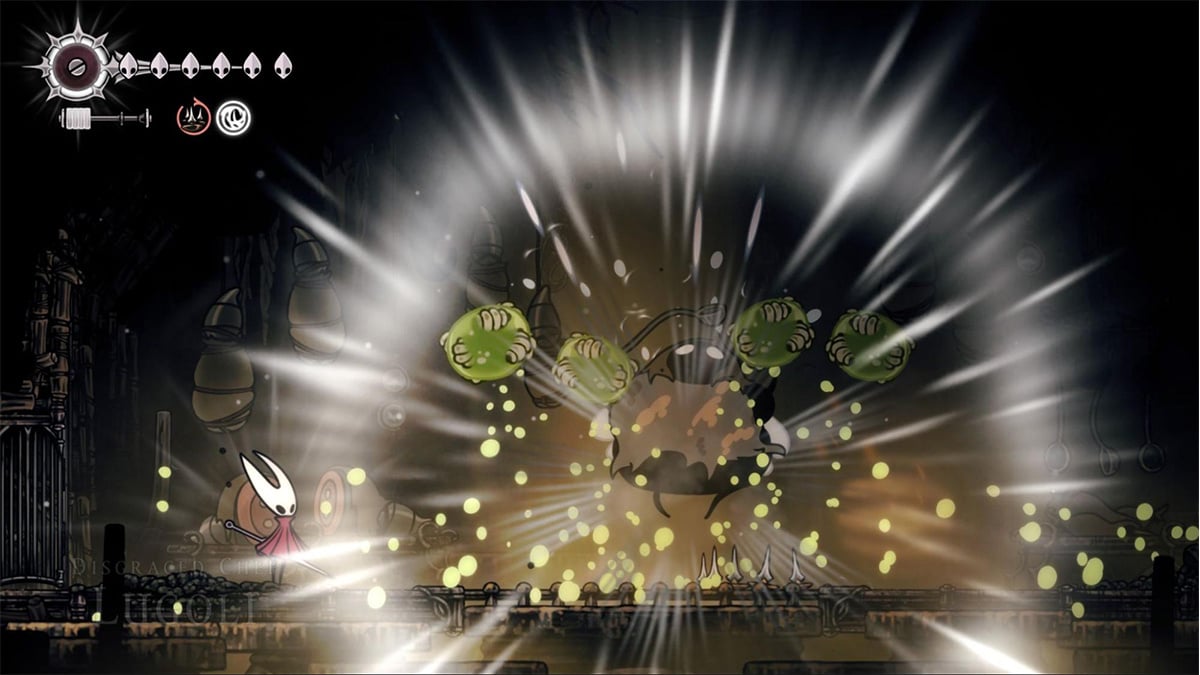
The fight against Lugoli begins with a ceremonial gong, and then his two airborne kitchen aides descend to start the real action. These flying, knife-wielding bugs are more of a warm-up than a threat, but they mark the first time you fight goons before a boss takes the stage. Once dispatched, the main course arrives: Lugoli, a grotesque, disgraced fly chef wielding a ladle and a frustrating status-based gimmick that makes this fight uniquely annoying.
Lugoli’s core moves are goofy but dangerous. He charges side to side with a comical butt-first dash, slams the ladle down, and has a variant slam that launches two leech-filled blobs into the air. If these blobs hit you, they apply the leech debuff, which slowly drains your Silk bar and completely disables healing. The only way to cure it is to spend the same Silk cost as a full heal, meaning that even a single mistake can destroy your rhythm and drain your resources.
Other attacks include a heavy butt slam that spawns four green blobs from the ground and an off-screen dive that erupts five to six more blobs in two waves. The longer the fight goes, the more relentless the blob spam becomes, especially if you're trying to heal or build up Silk between phases. Lugoli isn’t the hardest-hitting boss on the list, but his mechanics force clean play or heavy punishment, which makes him one of the most exhausting gimmick fights in the game.
You’ll need to beat Lugoli if you want to complete the quest "The Great Taste of Pharloom", and doing so nets you a key item used to upgrade your Needle. He’s located in Sinner’s Road, but you’ll need the double jump ability to reach him. Be prepared before you make the trip.
5. Raging Conchefly
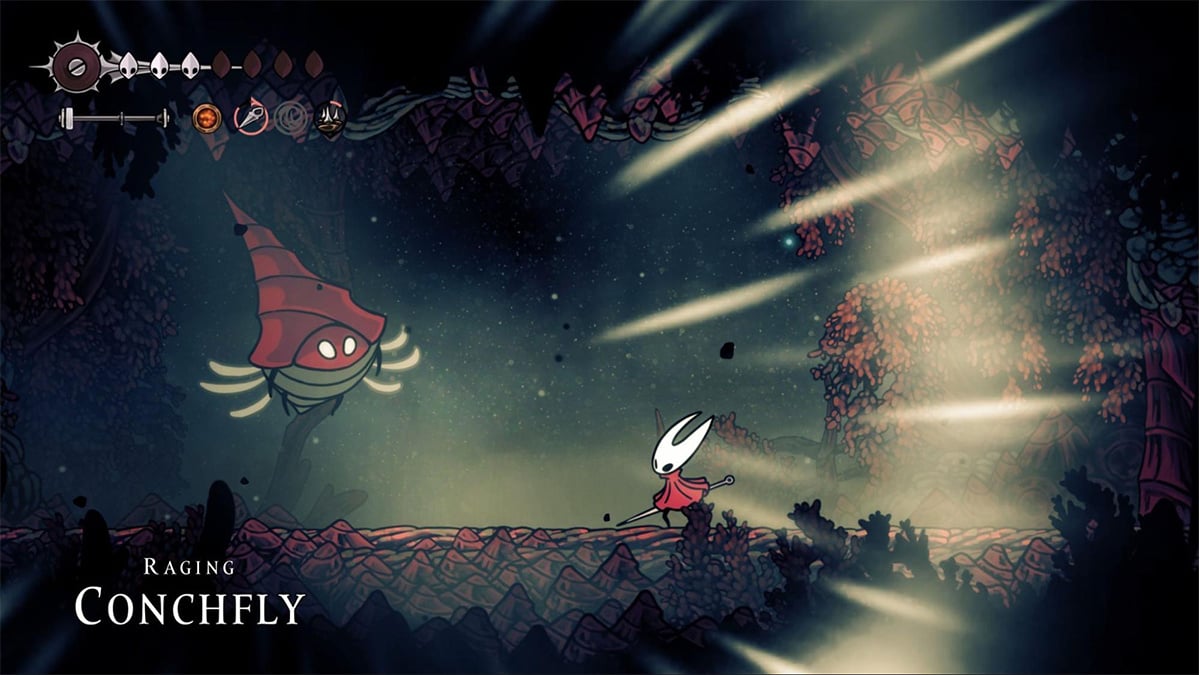
Raging Conchfly is a follow-up boss to the Great Conchflies encounter in Act 1. The initial battle pits you against two of them, but the fight ends as soon as you defeat one. The second, enraged by its partner’s death, transforms into the Raging Conchfly and flies off to the Sands of Karak, where it must be tracked down for a rematch. What makes this boss hard isn’t just the fight itself but the annoying “run back” required to reach it.
After getting up at the nearest bench, you’ll need to complete a five-minute obstacle gauntlet filled with traps and precision platforming before you're even allowed to die to him again. Once the fight begins, you’re confined to a small room (about half the size of the original arena) and assaulted by drill charges from every direction. The boss also fires red bouncing drills that can double hit if the hitboxes line up wrong, and summons smaller Conchflies that shoot across the screen in cardinal directions. The actual fight is manageable, but factoring in the run back and the cramped arena, this becomes one of the most exhausting experiences in the game.
6. Groal The Great
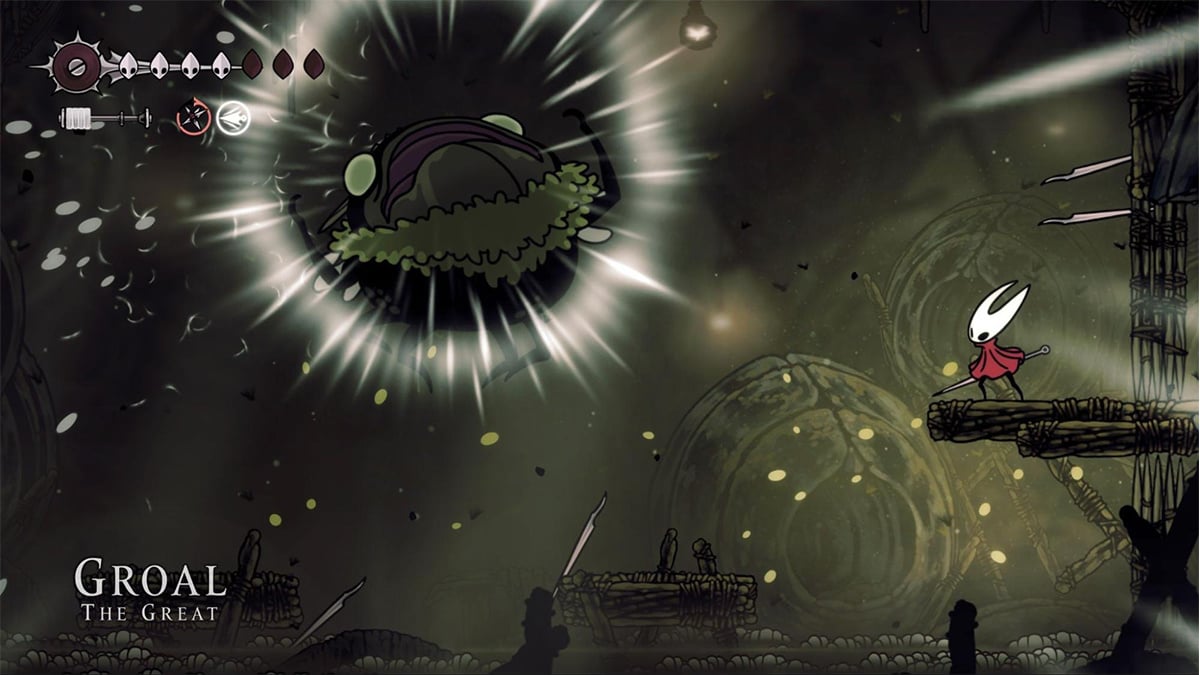
Groal the Great is another perfect example of how a boss doesn’t need complex mechanics to be a nightmare. The real challenge is everything leading up to and surrounding the fight. To even reach the boss room, you’ll need to endure a brutal 10-minute traversal sequence through a hazardous sewer zone filled with traps and leech water. Falling into this green sludge inflicts the leech debuff, which prevents healing and slowly drains your Silk until you cleanse it by spending Silk energy. Once you finally enter the boss room, the fight doesn’t start right away. Instead, you must defeat five waves of enemies in the same space. These include projectile-throwing sewer ninjas that dive back into the sludge and become unhittable, forcing you to dodge until they resurface.
When Groal finally joins the battle, things don’t get easier. About a third of the boss arena is covered in leech water, and Groal will continue summoning sewage ninja enemies mid-fight while also triggering environmental traps like swinging spiked pendulums.
His core moveset is fairly simple: he spits explosive green blobs, tries to inhale you with a vacuum-like attack, and dives beneath the sludge to reposition. In phase two, he adds a new move where he launches large white projectiles vertically.
Thankfully, there’s a way to cheese him. Equip the poison tool that infuses your projectile Tools with poison, then stand near the edge of the arena and spam him with projectile Tools. The poison damage will continue to tick even when he's submerged or dodging, and the edge positioning helps you avoid most of his attacks and the leech water hazards. It’s not elegant, but it works.
7. Nyleth
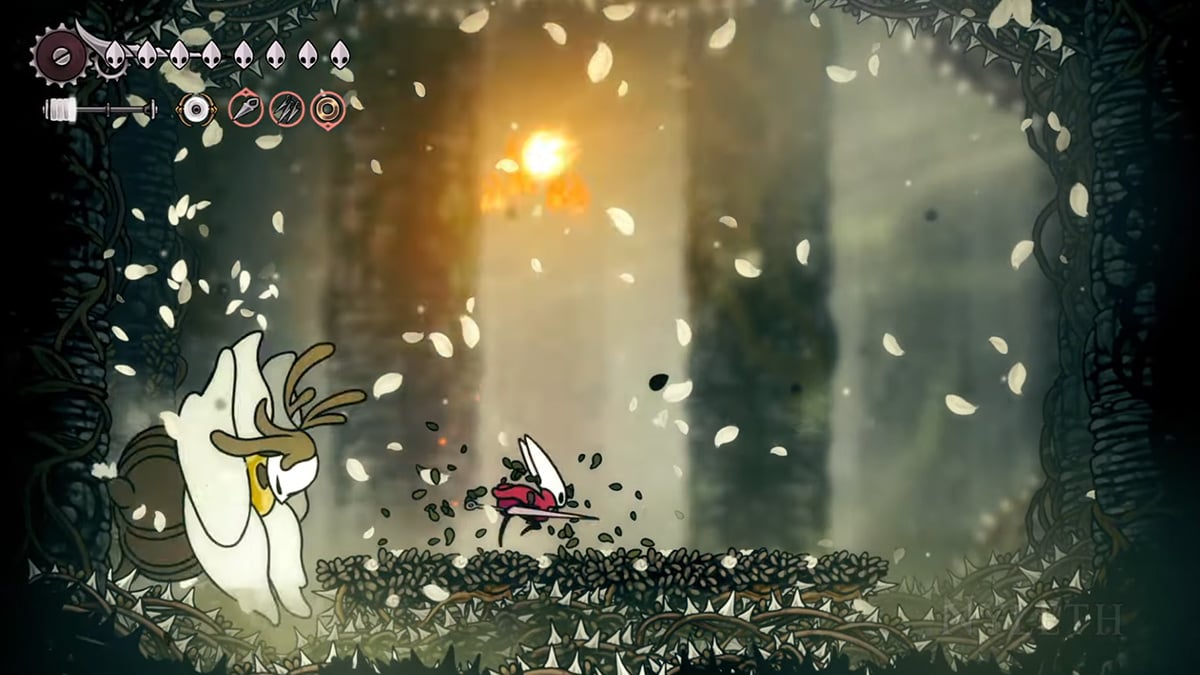
Nyleth would already be a tough fight without the environmental hazards. Her attacks come fast and layered: a four-wave spread of projectile orbs, spike balls that erupt from below, and a huge burst of yellow mist that explodes and fills most of the screen. She also moves aggressively, clinging to walls and darting between the left and right sides of the arena, making close-range combat feel like a risk every time.
But what turns this fight into a true nightmare is the arena itself. After a few hits, the central floor collapses, forcing you to cling to the walls. The ceiling and floor are covered in spikes, and whichever wall Nyleth clings to becomes spiked as well, meaning you always have to be on the opposite wall or get impaled and respawn mid-room. Once she moves, the spikes on her side vanish and reappear on the new wall she jumps to. The only consistent strategy is to equip the tool that lets you stick to walls without sliding and rely on projectile Tools to whittle her down from a safe distance. Mess up once, and the spikes make sure you pay for it.
8. Grandmother of Silk
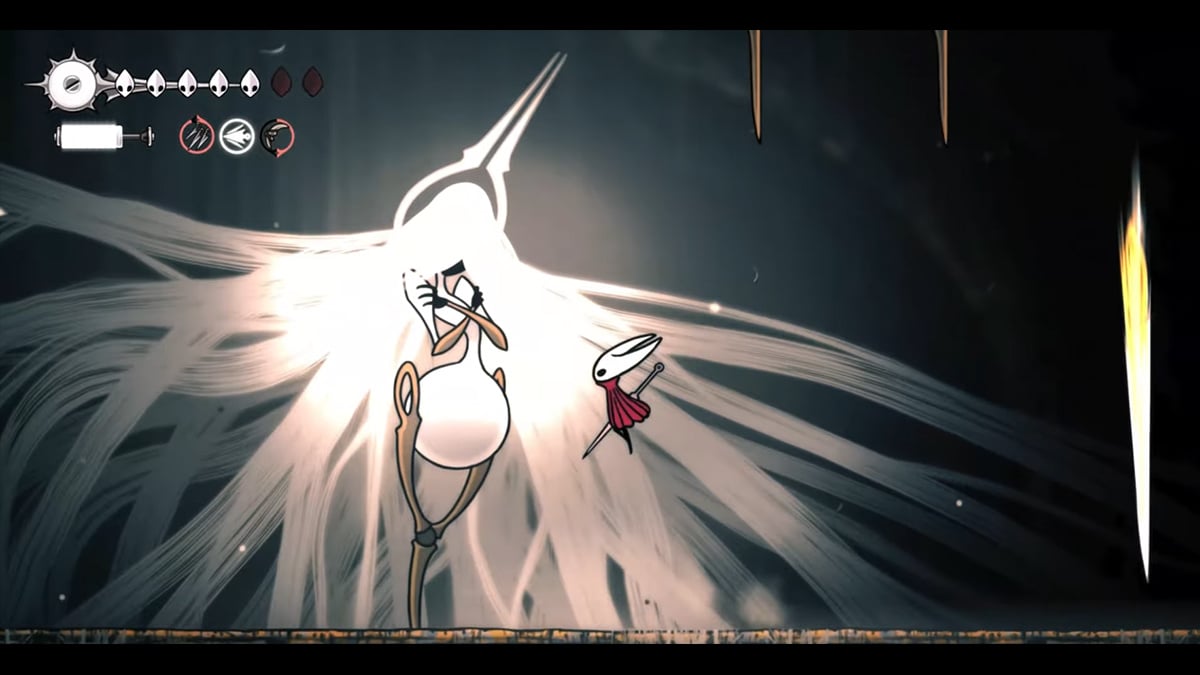
The regular final boss is an endurance test wrapped in a spectacle. Grand Mother Silk, the monarch of Pharloom and the source of all silk, floats godlike above the arena with no visible face, flowing white hair that stretches endlessly, and six blades that orbit her like satellites. She doesn't chase you or leap around. Instead, she controls the fight from above with screen-filling blade patterns, glowing laser webs, and environmental traps that punish even small mistakes.
You can only hit her by striking her exposed stomach, which means threading your way through her rotating blade formations to close the distance. Her attacks come from all directions: side to side, top to bottom, and opposite ends of the arena. Each variation leaves narrow gaps you have to dodge through with precise timing. Then come the laser webs. These glowing threads stretch across the arena and explode moments later. If you're standing inside them when they activate, you trigger a cutscene where Hornet is tangled and slashed.
In Phase 2, the attack speed ramps up. In Phase 3, rocks begin to fall from both sides of the screen while new blades form traps along the floor. You have to watch your positioning constantly. Once she's near defeat, she unleashes everything at once: blades, webs, rocks, and traps flood the arena in a final attempt to overwhelm you. The only option is to go all in and hope your dodges and attacks hold long enough to outlast her.
9. First Sinner
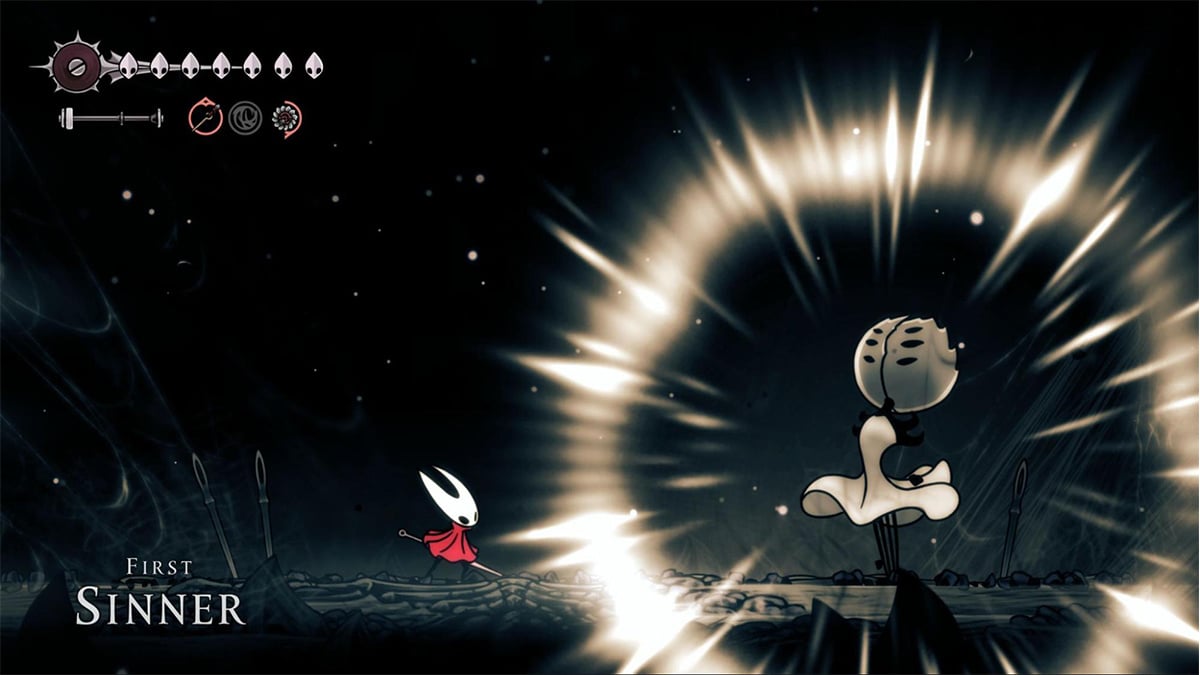
The First Sinner is one of the most aggressive and punishing bosses, and her fight feels like a relentless exam of reaction time and pattern recognition. Found in The Slab, she towers over the arena with a massive six-eyed head and robed arms tipped in blades. The entire battlefield is lined with impaled weapons, and she wields them with ruthless precision, combining blade storms with teleportation, explosive AoEs, and pressure-heavy movement.
Most of the fight revolves around reading white line markers on the ground. Whether it's blades crashing down in an X pattern or sweeping horizontally across the screen (sometimes both at the same time), success comes from knowing where to stand and when to dash. She can teleport directly above you and slam down with vertical strikes, then vanish and reappear in a flurry of movement. In Phase 2, glowing white explosion markers fill the arena, forcing constant repositioning and dodging under pressure.
She can also heal herself mid-fight, which drags the battle out unless you interrupt her with an attack. A basic needle strike or any tool hit will cancel the heal, but miss the cue and she’ll regain health you worked hard to chip away.
First Sinner’s pacing ramps up fast, with increasing speed and tighter windows for punishment. Her long attack animations and deceptive pauses can easily bait you into mistakes. The reward for beating her is Rune Rage, one of the better offensive Silk skills, but claiming it means surviving this boss.
10. Lost Lace
Lost Lace is the secret final boss of Silksong and the final challenge of Act 3. Found deep within the Abyss during the “Last Dive” quest, she is a void-corrupted version of Lace, transformed by the influence of the Grand Mother Silk. Defeating her is required to unlock the true ending of the game.
Her first phase borrows from her earlier fight but raises the stakes across the board. The classic Aerial Slash now leaves a trailing void that punishes players who try to jump over her for an easy punish. Forward Slashes are quicker and cover more ground. Her parry has evolved into two separate variants, one grounded and one aerial, each demanding different counters. Predicting which one she will use is half the battle.
The best openings to deal damage come when she performs her void moth attack, launching tentacles directly forward, or when she leaps into the air for a diagonal strike. These telegraphed moves give you just enough time to reposition and punish. Everything else in her first phase requires constant adaptation. A mistimed swing into her parry can easily cost you two masks.
Once she enters her second phase, the arena becomes a battlefield of void. Pillars erupt from the ground and reach high enough to catch you mid-jump. Rifts tear across the floor. Openings shrink. Safe ground becomes unreliable, and aerial movement turns from helpful to mandatory. You will need to fight above the chaos, chaining double jumps while watching for vertical spikes and collapsing space.
Every hit she lands deals two masks of damage, and the fight gives you few chances to heal. Your only real option is to bind high in the air during brief lulls in the chaos, and only when missing three masks or more. Anything less is often wasted effort.
Lost Lace is a brutal finale that tests everything you’ve learned throughout Pharloom. Her attacks demand precision, her phases demand stamina, and the fight itself asks for mastery. Victory does not come quickly, but with enough pattern recognition, aerial control, and innovative use of your Silk, you will leave with one of the game’s most satisfying wins and a glimpse at a familiar face and the true ending that follows.
Conclusion
Hollow Knight: Silksong delivers a brutal array of boss fights that test far more than your reaction time. Between punishing runbacks, spike-covered arenas, and enemies that drain your healing or flood the screen with hazards, these battles demand resourcefulness, precision, and mastery of the game’s core mechanics. Whether they’re main story encounters or optional nightmares hidden deep in Pharloom, the bosses on this list stand out for pushing players to their limits, and sometimes, past them.
If you’re interested in other Silksong related content make sure to check out our helpful guides below:
Recommended Products