Hardest Nightlords Ranked in Elden Ring Nightreign


Elden Ring Nightreign brings eight powerful bosses known as the Nightlords, each with their own attacks, phases, and unique tricks. Some feel manageable after a few tries, while others hit like a wall and refuse to go down easy. These fights can feel completely different in solo play compared to co-op, and your build can make or break the battle. In this article, we’re ranking all Nightlords from easiest to hardest, based on how they play in practice and what makes them stand out.
8. Maris, Fathom of Night

If you're looking to take on your first Nightlord, outside of tutorial level, in Elden Ring: Night Reign, Maris, Fathom of Night is a great place to start. Visually striking but mechanically forgiving, Maris offers a cinematic fight without overwhelming pressure. It floats above the battlefield, summoning explosive jellyfish, wind gusts, and water-based shockwaves. Fortunately, most of its attacks are easy to read and leave generous openings for counterplay.
Maris is especially vulnerable to Lightning damage, which makes it an ideal target for players who come prepared with the right build or elemental weapons. Its most dangerous move, a sleep-inducing hypnosis, can be interrupted with quick aggression. Even in its second phase, when it becomes more active and fills the arena with hazards, the fight remains manageable as long as you stay mobile and prioritize clearing summons before they become overwhelming.
Despite some flashy moments and visual chaos, Maris doesn’t punish mistakes as severely as other Nightlords. Its telegraphed patterns and slow recovery windows provide plenty of room to learn, adapt, and strike back. As a result, Maris is an ideal warm-up boss for anyone beginning their Nightlord journey.
7. Adel, Baron of Night

Adel, Baron of Night is a towering dragon-like creature known for its brutal, sweeping attacks and deadly lightning-infused jaw. While it might seem intimidating at first, the fight is more manageable than it looks, especially once you learn to play around its limited openings. In Phase 1, Adel charges, slams, and bites with massive force, but its animations are easy to read and punish. The real danger comes from staying in front of it too long, particularly during its grab attacks and lightning rush combo.
Players who apply poison will find the fight becomes significantly easier. Poison not only damages Adel over time but also interrupts its patterns, creating large attack windows when the boss pauses to expel the toxin. Staying underneath or to the side of its legs often provides a safe zone to chip away at its health.
In Phase 2, Adel becomes faster and more aggressive, adding lightning to its slams and charging attacks. While status resistances increase, poison can still slow it down enough to stay in control. Despite its imposing design and high damage potential, the Baron is surprisingly readable, making it a rewarding fight for players who stay patient and mobile.
6. Gladius, Beast of Night

Gladius, Beast of Night is the first Nightlord many players will face, appearing during the tutorial expedition. While this version is scaled for beginners, returning later for a full rematch reveals the fight's true complexity. Gladius is a three-headed wolf bound to a chained greatsword, using wide sweeps, flame breath, and aggressive lunges to control space and pressure players from all angles.
In Phase 1, Gladius’s movements are readable but relentless. Its chained sword can sweep even behind its body, punishing careless positioning. Players who stay close and dodge toward the chain can create safe openings for counterattacks. Holy damage is particularly effective, while the boss resists fire and shrugs off most status effects.
At 75% health, Gladius splits into three wolves, only one of which wields the sword. Solo players may struggle to manage the pack’s staggered aggression, but groups can isolate them to regain control. After reforming, Gladius adds explosive fire-based attacks, including sword slams and AoE flame bursts.
Despite being an early boss, Gladius offers a fast-paced and mechanically dense fight that can catch even experienced players off guard. It’s a solid early challenge and a good check on your ability to manage chaos under pressure.
5. Caligo, Miasma of Night

Caligo, Miasma of Night is a frost-covered dragon that uses mist and misdirection to create one of the most cinematic but surprisingly manageable Nightlord encounters. Though it towers over the battlefield and controls it with ice-based AoEs and fog, its attacks follow clear patterns that become predictable with a few attempts. In the early phase, Caligo mostly relies on sweeping claws, frost breath, and tail swipes, all of which are easy to avoid once you learn their timings.
Its signature gimmick is the fog phase, where visibility drops and Caligo prepares one of two devastating area attacks. Both patterns can be avoided with quick positioning or environmental awareness. Fire and strike damage are especially effective here, not only bypassing Caligo’s defenses but also staggering the boss and opening short windows for punishment.
Once Caligo enters its second phase, it becomes more mobile, taking to the skies and launching ice barrages and AoE slams. Despite the visual chaos, these aerial patterns are still dodgeable with patience and practice. The longer second phase may wear players down, but the fight remains fair and methodical. With the right elemental prep and a steady pace, Caligo feels more like an endurance trial than an overwhelming threat.
4. Gnoster, Wisdom of Night

Gnoster, Wisdom of Night is one of the more complex Nightlord encounters, featuring a dual boss design where players must contend with both a flying moth and a hulking scorpion-like creature. The two share a health bar, but each has distinct movement patterns and attack types. The moth, Gnoster, bombards players with slow-moving light projectiles and area denial spells from above, while the scorpion, Faurtis, uses ground-based slams, stomps, and piercing attacks.
In Phase 1, the scorpion is more active on the ground, while the moth remains airborne, forcing melee players to rely on ranged teammates to keep pressure up. The key is to manage both threats without tunnel vision. When Faurtis enters a hardened defensive state, players should shift focus to Gnoster, who is weak to fire and vulnerable to well-timed ranged attacks.
At 50% health, Gnoster lands on Faurtis’s back, triggering Phase 2. Their attacks now sync up, combining close-range charges with tracking beams and projectile rain. While this phase can feel chaotic, smart positioning and target prioritization help mitigate the danger. With strong fire damage and proper coordination, this unusual fight becomes more of a tactical puzzle than an endurance test.
3. Fulghor, Champion of Nightglow

Fulghor, Champion of Nightglow, is a centaur-like Nightlord who combines relentless speed with punishing reach. Wielding a massive lance infused with golden energy, Fulghor keeps pressure on players throughout the fight with a mix of wide-area strikes, rapid charges, and delayed shockwaves. In Phase 1, many of his attacks are telegraphed, but their long hitboxes and fast recovery make it risky to overcommit. Even a single mistake can be punished with a multi-hit combo or a knockback into another AoE.
He’s especially difficult for melee players, as closing the gap safely requires precise movement and constant awareness of his long-range sweeps. Unlike other bosses that offer frequent recovery windows, Fulghor’s pacing demands patience. His Golden Lance and Golden Charge abilities also create persistent hazards on the ground, making the arena itself part of the challenge.
Fulghor becomes even more dangerous in Phase 2. At 50% health, he mutates, growing a second arm that expands his attack coverage and introduces poison effects. This phase adds unpredictable claw slams, poison arcs, and combination attacks that hit both near and mid-range. His enhanced mobility, wide attack angles, and tighter punish windows create fewer safe zones and more frequent threats.
What sets Fulghor apart is how little breathing room he gives. Most Nightlords alternate between aggressive and passive states, but Fulghor maintains relentless momentum. Players need to manage both his mobility and the arena hazards while maintaining pressure. His high speed, tight spacing, and overlapping attack patterns make him one of the most demanding fights in Night Reign.
2. Heolstor, the Nightlord
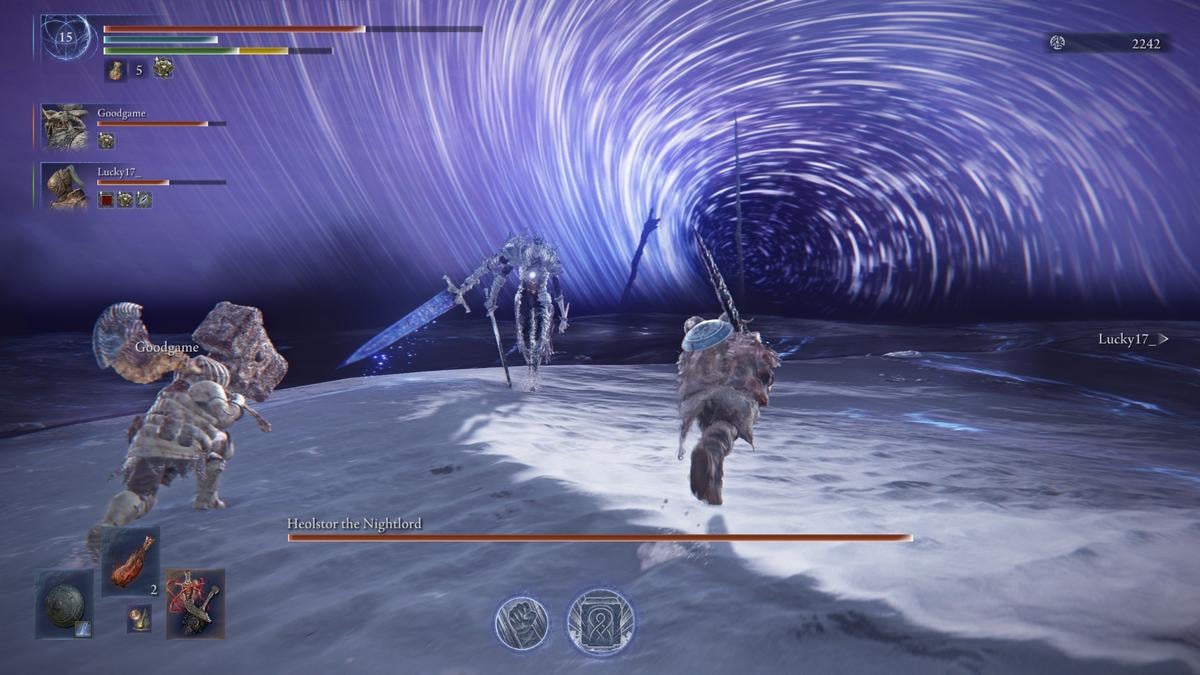
Heolstor, the Nightlord, is a two-phase boss encounter that starts as The Shape of Night before revealing its true form. At first, the fight seems manageable. Heolstor moves slowly and uses basic sword attacks that are easy to read, making it feel like a traditional duelist encounter. Around 60% health, however, he switches to his greatsword and becomes significantly more aggressive, throwing out quicker combos and dashing attacks that punish passive play.
Once Phase 1 ends, Heolstor transforms into his full Nightlord form, and the difficulty spikes. His speed increases, his recovery windows shrink, and his sword becomes imbued with arcane power, enabling wide-area projectiles and unpredictable magic combos. He begins teleporting to players who try to disengage and closes gaps almost instantly, giving very little room to breathe.
What makes Heolstor especially hard is how much he controls the flow of the fight. Players can’t create distance for healing or casting because he will either dash or teleport to them. His sword attacks often come paired with delayed magical follow-ups, making dodging a two-step process. In Phase 2, he also adds battlefield-wide spells like Cover of Darkness and Reality Rift, forcing players to react to both area hazards and melee pressure at the same time.
Heolstor resists most status effects and punishes overextension with devastating counterattacks. His aggressive tempo, layered attacks, and arena control make him one of the most demanding fights in Night Reign and a true test of poise and positioning.
1. Libra, Creature of Night

Libra, Creature of Night, is a demonic goat-headed Nightlord that symbolizes imbalance disguised as balance. Before the battle begins, players must interact with the Scale-bearing Merchant, who offers deals that trade power for significant drawbacks. These choices persist into the fight, creating a unique risk-reward scenario. Accepting a deal might grant a damage buff or a rare weapon, but can also reduce max health or other stats. Declining starts the fight normally, but if players take too long to choose, Libra initiates the encounter automatically.
Once the fight begins, Libra relies on a mix of Golden Order glyph magic and Frenzied Flame incantations. While the boss doesn’t have a second phase, the pressure never lets up. Libra’s wide-area attacks and unpredictable spell timing make it difficult to find safe zones. It frequently casts glyphs that rain light from the sky, shoot projectiles in fixed directions, or erupt beneath players. Most of these spells are telegraphed, but they can quickly overlap if ignored.
Libra’s most dangerous mechanic is its Madness buildup. Some spells create a fog that inflicts Madness unless players collect glowing crystals around the arena. Others summon waves of fire or cause explosions that punish passive play. Despite this, Libra is surprisingly weak to Madness itself. If players apply enough Madness, Libra enters a frenzied state and switches to basic staff combos, creating valuable damage windows.
What makes Libra difficult is its ability to control tempo. The persistent AoE pressure, deceptive delays in spellcasting, and synergy between its glyphs and melee attacks make the encounter overwhelming. Players who choose risky merchant deals will find the fight even more punishing. However, with Holy or Fire damage, and careful Madness management, Libra becomes a calculated challenge rather than pure chaos.
Fighting the Nightlords takes skill, timing, and the right tools. If you want smoother gameplay and faster response times, check out Acer Nitro and Predator products. These gaming laptops, desktops, and monitors are built for serious players. With fast screens and powerful hardware, they help you stay sharp in every battle.
Recommended Products


Patrick Yu is a Senior Project Manager at Level Interactive and has 8 years of experience writing business, legal, lifestyle, gaming, and technology articles. He is a significant contributor to Acer Corner and is currently based in Taipei, Taiwan.
Socials
|
|
|
|
|


