
Monster Hunter Wilds introduces a variety of new enemies, including a unique octopus-like creature not seen in previous games. However, the toughest fights in the game come from the Tempered Monsters.
What is a Tempered Monster?
Tempered monsters are tougher, more aggressive versions of regular monsters found only in High Rank (achieved after you kill Zoh Shia) of Monster Hunter Wilds. They have enhanced health, strength, and speed, making each encounter significantly more challenging. These creatures have survived numerous battles, which is reflected in their more powerful attacks and unpredictable behavior. In addition, tempered monsters drop rare materials used to craft end game weapons and armor, making them a vital target for endgame hunters.
In this article, we’ll cover the strongest Tempered Monsters you can face in Monster Hunter Wilds and why they’re the hardest challenges for any veteran hunter.
7. Rathalos

Tempered Rathalos is one of the tougher bosses in the game, but it ranks at the bottom of this list because, with over 20 types of Tempered Monsters in the game, it faces some stiff competition. While its enhanced strength, higher health, and more aggressive behavior make it a formidable opponent, it doesn’t quite reach the level of challenge that some of the other tempered monsters provide. Rathalos’ fiery breath, explosive fireballs, and poison-inflicting tail are all dangers you’ll need to manage carefully.
The tail is particularly troublesome, as it automatically inflicts poison damage with each strike. The best approach is to chop it off, but doing so requires getting in close, which leaves you exposed to other attacks. While the fight is tough, it’s relatively predictable compared to other tempered monsters, which makes it a little less overwhelming.
So, while a Tempered Rathalos is still a challenge, its position at the bottom of this list reflects the variety of even more demanding tempered monsters in Monster Hunter Wilds. Being on this list still marks it as one of the tougher fights in the game—just not quite the hardest.
6. Guardian Ebony Odogaron
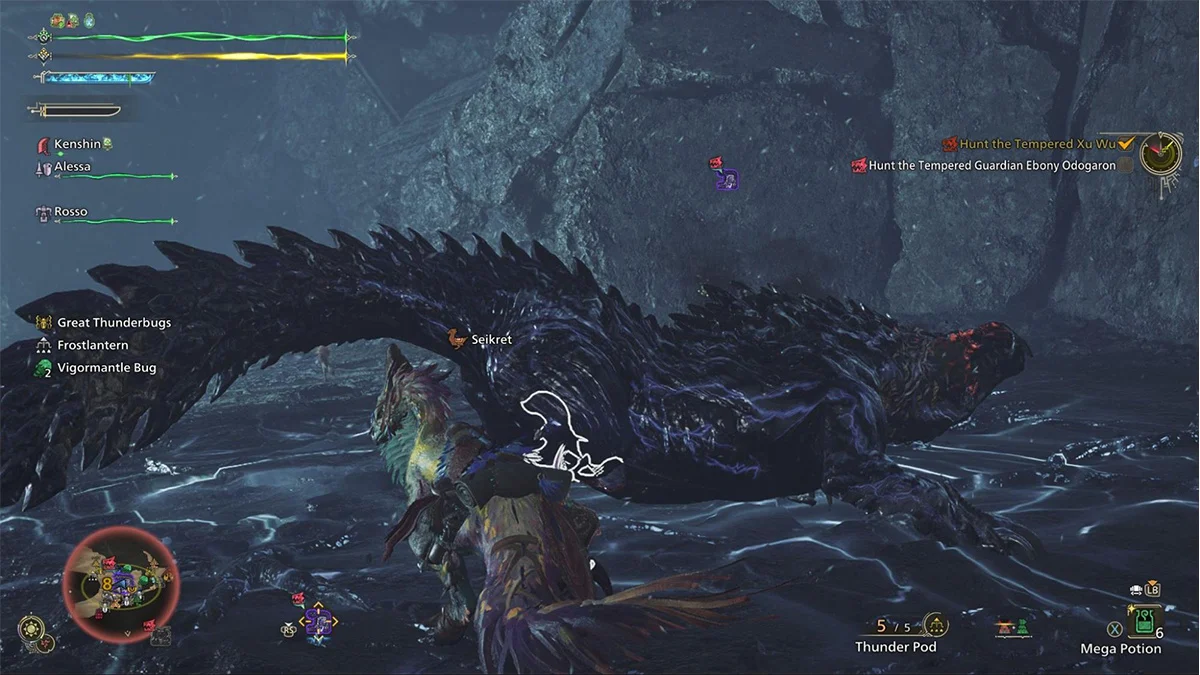
The Tempered Guardian Ebony Odogaron is a unique and challenging fight. This artificial creation, imbued with the power of Ebony Odogaron, is a dangerous opponent, especially in its Tempered form. Its aggressive nature is heightened by the Guardian energy, making it a relentless adversary. Found in the Ruins of Wyveria, it uses its sharp claws to inflict bleeding and a dexterous tail capable of triggering explosive dragon-element attacks when it makes contact with Wylkrystals.
One of the key threats in this battle is the Guardian Ebony Odogaron's tail, which can swing and slam with devastating force, while its jumping spin and tail whip combo are deadly if you’re caught off guard. Its projectile attack, fired from the ground, leaves orange markings where the blast will hit, forcing hunters to stay mobile. The monster’s ability to inflict Dragonblight can negate weapon elements and ailments, adding an extra layer of complexity to the fight. Managing Dragon Resistance and Blight Resistance is crucial to surviving the encounter.
The Guardian Ebony Odogaron is also known for its high-speed attacks, making it a more unpredictable fight. While its moves are powerful, they are still somewhat predictable with experience. Properly managing bleeding and using items like Well-Done Steak, Wild Jerky, or Bleeding Resistance will help you avoid the worst of the damage. With a little preparation and careful positioning, the Guardian Ebony Odogaron can be defeated, but it remains one of the more intense tempered monsters you’ll face in the game.
5. Jin Dahaad

Jin Dahaad is the giant king that rules the Iceshard Cliffs, and its Tempered version is one of the toughest monsters you’ll face. This massive creature can traverse walls and frozen surfaces with ease, thanks to the frost it emits from its limbs. While it’s a challenging fight, its arena is filled with destructible environmental traps that can be used to deal massive damage. Once you become familiar with the map and its features, the fight becomes much more manageable. For players unfamiliar with Jin Dahaad or the arena, however, it can present significant challenges.
The monster’s body is covered in ice-producing ridges, which serve both as defense and offense. These ridges are vulnerable to Cut and Blunt damage, and destroying them will weaken the creature, opening up opportunities to attack. But it’s Jin Dahaad’s Crystallize move that truly makes it terrifying. When hit by this attack, especially in its Tempered form, it’s essentially a one-shot kill, making it a crucial moment to avoid at all costs.
Jin Dahaad also has the ability to inflict Iceblight and Frostblight, both of which can drain your stamina and freeze you in place, respectively. To manage this, you’ll need items like Nulberry and Cleanser, or better yet, increase your Ice Resistance and Blight Resistance to make the fight easier.
The battle against Jin Dahaad is intense, with attacks like Freezing Breath and Freezing Jet that can cause widespread damage and inflict Frostblight. However, the arena’s environmental traps provide opportunities to turn the tide in your favor. You can use the destructible boulders to deal massive damage or as cover from his larger-scale attacks. Though Jin Dahaad’s moves are powerful, his predictable patterns and the map’s resources give hunters who are familiar with the terrain a strategic advantage.
4. Uth Duna

Uth Duna is a powerful fat aquatic lizard that feeds on the Scarlet Forest. This creature, often encountered during the downpour, is protected by a water-absorbing veil that not only absorbs attacks but also adds weight, making its body slams and wave attacks even more destructive. However, once this veil is removed, Uth Duna becomes more agile and aggressive, raising the stakes significantly.
The fight is further complicated by Uth Duna’s unique water-based attacks, such as the Twisted Body Slam and Underwater Dive. Both create large AoE waves of water that deal significant damage, but they are dodgeable with quick evasion or the use of Wedge Beetles to gain some vertical space. In its tempered version, he is likely to two-shot you with any of its attacks.
When it comes to dealing damage, Uth Duna’s Forelegs and Head are key weak spots, with the head being particularly vulnerable to Blunt damage. Using Thunder Ammo or Thunder Pods is also effective against Uth Duna’s elemental weakness to Thunder. Managing Waterblight is also critical, as it slows stamina recovery, but this can be countered with Nulberry, Water Resistance, or Blight Resistance.
Additionally, the Scarlet Forest arena has destructible environmental traps specifically made to counter Uth Duna (just like Jin Dahaads arena). As Uth Duna moves through the water, these traps can be triggered to collapse on the monster. Successfully hitting Uth Duna with one of these traps forces it out of the water early, preventing it from continuing its path or performing a devastating wave attack.
3. Rey Dau

Residing in the Windward Plains, Rey Dau has adapted to the Sandtide and uses the intense storms to amplify its already deadly Thunder-based attacks. This territorial creature will attack any intruders on sight, making it a highly aggressive and unpredictable foe. Its ability to store, amplify, and discharge lightning makes every move potentially lethal.
Tempered Rey Dau’s most dangerous ability is its Lightning Burst which can one-shot hunters if you’re not careful. The Lightning Burst can be used while Rey Dau is flying or on the ground, and while it’s not too complicated to dodge, it requires good reaction time to avoid the lethal burst.
In addition, be wary of Rey Dau’s arm attacks, such as Earth Slice and Arm Sweep. While Earth Slice is relatively easier to dodge, Arm Sweep is much more challenging to avoid and can catch you off guard.
Rey Dau’s ability to generate fulgurite from its wings and tail further amplifies its threat. When Rey Dau’s charged appendages touch the ground, the resulting fulgurite increases its attack range and charging capacity. Breaking these appendages is crucial to limiting Rey Dau's offensive capabilities. After it discharges electricity, its head becomes vulnerable, offering an opening for hunters to land powerful blows.
Rey Dau is weak to both Water and Ice, so weapons with these elements are particularly effective. Using Water Ammo or Ice Pods can significantly increase your damage output, and skills like Critical Element and Charge Master can further enhance elemental attacks.
Unlike most monsters, Rey Dau is immune to Shock Traps, so if you want to capture it, you'll need to use Pitfall Traps, which take longer to set up but are effective in immobilizing this powerful wyvern.
2. Arkveld

Residing across all five biomes, Tempered Arkveld, the monster on the game’s box art, is a legendary flying wyvern once thought extinct. This monster wields a unique chain-like blade on its wings that can extend and retract freely, allowing it to feed on elemental energy and unleash devastating Dragon-element attacks. Its ability to absorb and convert energy makes every move unpredictable and highly dangerous.
Arkveld’s arsenal is built around its Chainblade assaults. Moves like Chainblade Assault, Red Lightning Blast, and Crossed Wingblade create explosive, wide-range attacks that can potentially one-shot hunters if you’re caught off guard. Its long-chain attacks are amplified by the energy it absorbs; when its wings and chainblades are charged, they can sweep out to cover a massive area. To counter this, focus on its weak spots—the Head, Wings, and Chainblades—which are vulnerable to Cut, Blunt, and Elemental damage.
Arkveld’s dynamic fighting style allows it to switch between aerial strikes and ground-based attacks seamlessly. It can quickly reposition itself using its mighty wings and chainblades to latch onto the ground, launching devastating moves such as Tail Upswing and Arm Strikes that may leave you exposed. Additionally, its moves often carry the threat of Dragonblight, which negates your elemental attacks; be prepared with Nulberry or boost your Dragon Resistance and Blight Resistance to mitigate these effects.
Effective strategies include flooding Arkveld with continuous Dragon-element attacks, which help overload its energy-absorbing organs. Exploiting its brief vulnerabilities—such as after a discharge when its head becomes exposed—can provide crucial openings for your most powerful blows.
Tempered Arkveld is a well-rounded monster, capable of both relentless offense and sturdy defense. While its attacks are potent and can be explosive, understanding its patterns and focusing on its weak points will give you the edge needed to bring down this frankenstein monster, the second strongest challenge on the list.
1. Gore Magala

Residing in the Iceshard Cliffs, Tempered Gore Magala is the ultimate terror in Monster Hunter Wilds. Draped in a cloak of pitch-black wings and lacking traditional eyes, it instead uses a scattering of fine wing scales to sense its prey. When these scales reach a critical threshold, antennae emerge and Gore Magala unfurls its wings to enter a frenzied state, transforming into an even more aggressive predator.
In this Frenzy State, Gore Magala unleashes a suite of devastating attacks—such as Aerial Dive, Frenzy Arc, and Frenzy Projectile—that not only inflict massive damage but also spread the dangerous Frenzy Virus. Initially, this virus appears as Frenzy: Onset, serving as a warning; however, once fully contracted, it increases the damage you take and halts natural healing, turning every moment of the fight into a high-stakes battle.
One of the reasons this battle is so challenging is the tight, confined spaces found in parts of the Iceshard Cliffs. These smaller areas leave little room for evasive maneuvers, forcing hunters into close quarters with this relentless predator and amplifying its devastating attacks.
The key to surviving this onslaught is to target Gore Magala’s vulnerable areas. Damaging its Head and Antennae can disrupt the spread of the Frenzy Virus and expose its inner defenses, allowing you to land powerful, decisive blows. Elemental attacks are also crucial in this fight. Gore Magala is particularly weak to Fire—using Flaming Ammo or Torch Pods can significantly reduce its defenses—while Thunder and Dragon elements can also be effective if timed correctly against its rapid, unpredictable strikes.
Ultimately, facing Tempered Gore Magala is the pinnacle of challenge in Monster Hunter Wilds. With its ability to induce Frenzy not only in itself but also in nearby creatures, it transforms the battlefield into a chaotic arena of relentless assaults. Mastery of evasive maneuvers, pinpoint targeting of weak spots, and the strategic use of elemental strengths are all essential to overcoming this Demi Elder Dragon.
Level up your play with Acer’s game-changing gear. Whether you're after the latest hardware or affordable devices, Acer's got you covered. Check out our top gaming products and unleash your true gaming potential today!
Recommended Products


