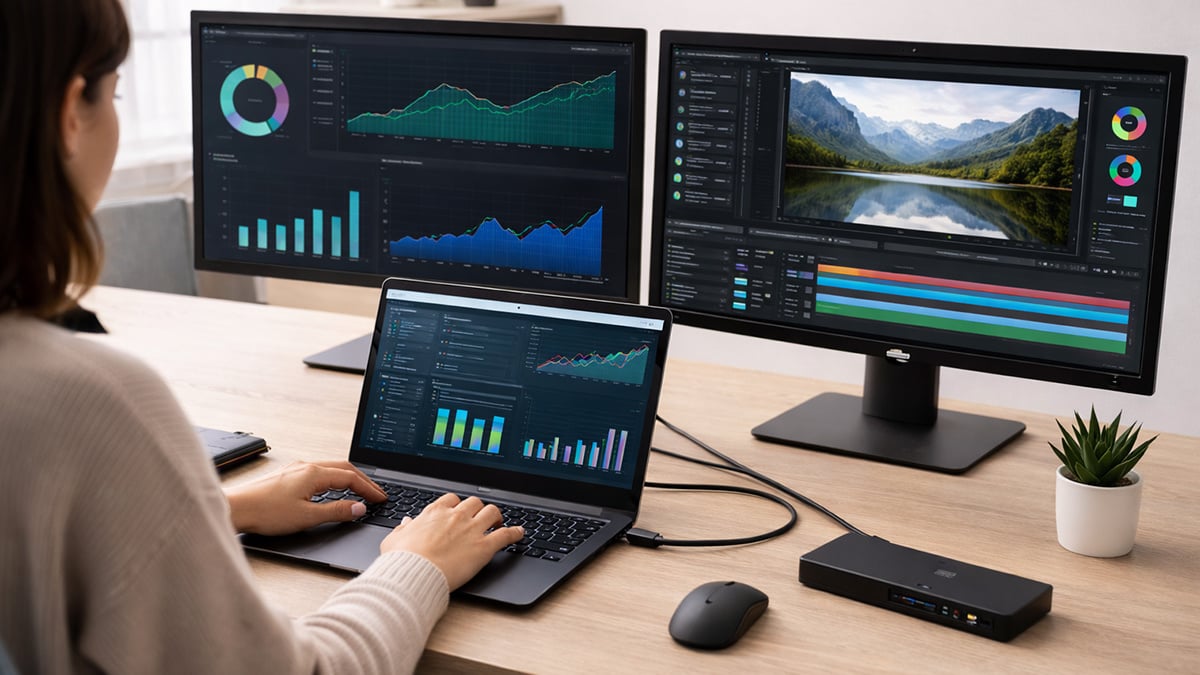
Adding multiple monitors to a Windows 11 laptop is one of the easiest ways to improve productivity. Whether you are working across spreadsheets, writing content, editing photos, or managing a livestream, extra screen space makes it easier to stay organized and move between tasks.
The setup process is usually straightforward, but the exact method depends on your laptop’s ports, graphics support, and the type of connection you use. This guide walks through the full process step by step, from checking compatibility to fixing common problems.
What you need for a multi-monitor setup
Most Windows 11 laptops can handle at least one external monitor without much trouble. Running two or more monitors depends on your hardware, but in many cases it is still simple once you know what to look for.
Before you start, check your laptop and gather the right equipment:
- Video cables: HDMI, DisplayPort, or a USB-C cable that supports video, not just charging
- Adapter if needed: USB-C to HDMI or USB-C to DisplayPort
- Docking station: A USB-C or Thunderbolt dock is the easiest way to connect two or more monitors
- Compatible laptop ports: HDMI, USB-C, Thunderbolt, or DisplayPort
- Monitor support: Your monitor should have matching input ports for your cables or dock
For example, a thinner productivity laptop such as an Acer Swift model may rely heavily on USB-C or Thunderbolt for display output, while a gaming laptop such as an Acer Nitro often gives you a mix of HDMI and USB-C, making dual-monitor setups more flexible.
Step 1: Identify your laptop’s ports
Look at the sides or back of your laptop to see which display connections are available.
Port type | What it does | What to know |
|---|
HDMI | Connects directly to most monitors and TVs | The most common option for external displays |
USB-C | Can carry video, power, and data through one port | Not every USB-C port supports video output |
Thunderbolt | A high-bandwidth version of USB-C that supports displays, docks, and fast data | Ideal for docking stations and multi-monitor setups |
DisplayPort | A dedicated display connection often found on monitors and some docks | Great for higher resolutions and refresh rates |
If your laptop has a USB-C port, check whether it supports video output. Many modern laptops do, but some USB-C ports are limited to charging and data only.
Step 2: Choose the best connection method
There are three main ways to connect multiple monitors to a Windows 11 laptop.
1. Direct connection
This is the simplest method. Connect one monitor directly to your HDMI port and another through USB-C with an adapter.
This works well if your laptop supports multiple video outputs natively.
2. Docking station
This is the most convenient option for most users. Connect a USB-C or Thunderbolt dock to your laptop, then plug both monitors into the dock.
A dock reduces cable clutter and makes it easier to reconnect everything with one cable. It is especially useful for desk setups built around a thin-and-light laptop.
3. Daisy chaining
Some monitors support daisy chaining through DisplayPort Multi-Stream Transport, also known as MST. This lets you connect one monitor to another instead of running both directly into the laptop.
A basic daisy chain looks like this:
Laptop → Monitor 1 → Monitor 2
This method is more advanced and only works if both the laptop and the monitors support it. Daisy chaining does not work over standard HDMI. To use it, your laptop typically needs DisplayPort, USB-C with DisplayPort Alt Mode, or Thunderbolt, and the monitors in the chain need the proper DisplayPort In and DisplayPort Out connections.
If you want to run three external monitors through daisy chaining, the setup becomes even more specific. A typical three-monitor chain looks like this:
Laptop → Monitor 1 → Monitor 2 → Monitor 3
To make that work, you usually need:
- a laptop with DisplayPort 1.2 or higher, USB-C with DisplayPort Alt Mode, or Thunderbolt
- monitors that support MST
- DisplayPort Out on the first and second monitor in the chain
- enough display bandwidth for the resolution and refresh rate you want across all three screens
Because all three monitors share the available bandwidth, lower-resolution displays are easier to run in a daisy chain than multiple high-refresh or 4K displays. If a third monitor does not appear, the cause is usually one of four things: one of the monitors does not support MST, the chain is connected incorrectly, the laptop or dock has a display-output limit, or the total resolution and refresh rate demand is too high.
If you want to use daisy chaining, make sure you confirm compatibility before moving on to the connection step.
Step 3: Connect the monitors
Once you know which method you are using, connect the hardware.
- Plug each monitor into power and turn it on.
- Connect the video cables from the monitors to your laptop, adapter, or dock.
- If you are using USB-C, make sure the cable supports video output.
- Wait for Windows 11 to detect the displays.
In many cases, Windows will recognize the monitors automatically within a few seconds.
Step 4: Arrange the displays in Windows 11
After the monitors are connected, the screens may appear in the wrong order or mirror each other.
To fix that:
- Right-click on your desktop and select Display settings.
- Click Identify to see which screen is which.
- Drag the display boxes so they match the physical layout on your desk.
- Click Apply.
This matters because the mouse pointer will follow the arrangement shown in Windows. If the monitor on your left is shown on the right in settings, moving between screens will feel awkward.
Step 5: Choose the display mode
In the same Display settings menu, scroll down to Multiple displays.
You will usually want one of these options:
- Extend these displays: Turns your monitors into one larger workspace
- Duplicate these displays: Shows the same image on each screen
- Second screen only: Uses only the external monitor
For most work and multitasking setups, Extend these displays is the best choice.
You can also switch display modes quickly by pressing Windows key + P.
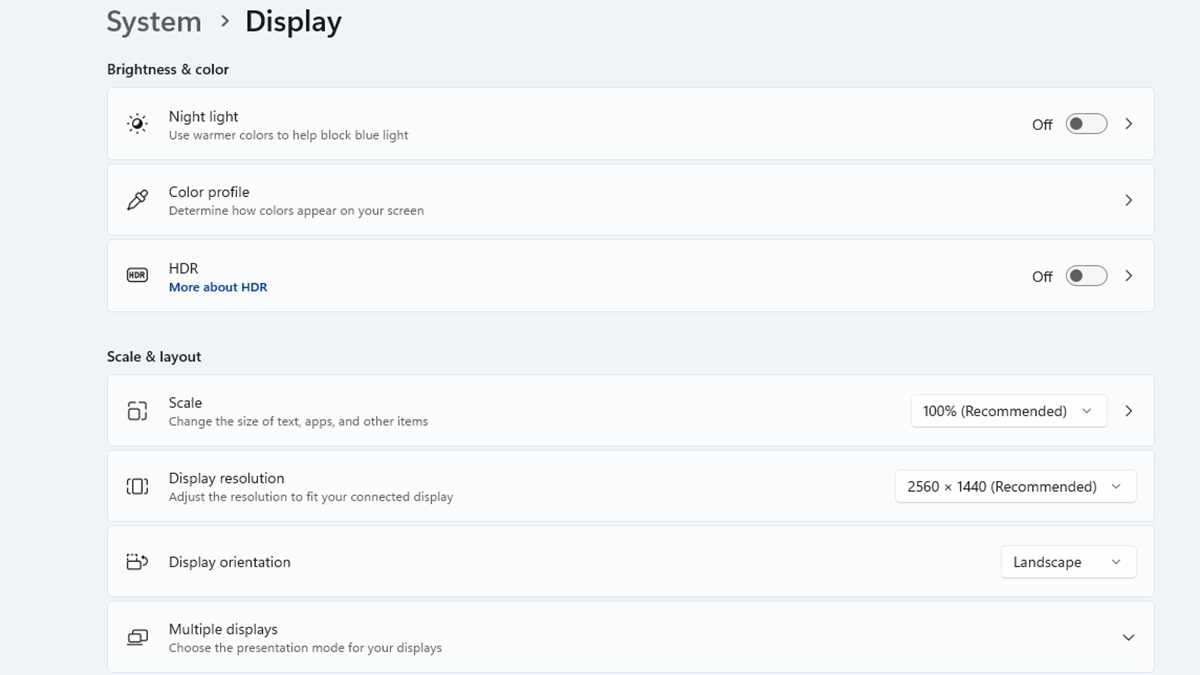
Step 6: Adjust resolution, scaling, and refresh rate
Once the screens are active, take a minute to fine-tune them.
For each monitor, check:
- Resolution under Display settings
- Scale under Display settings
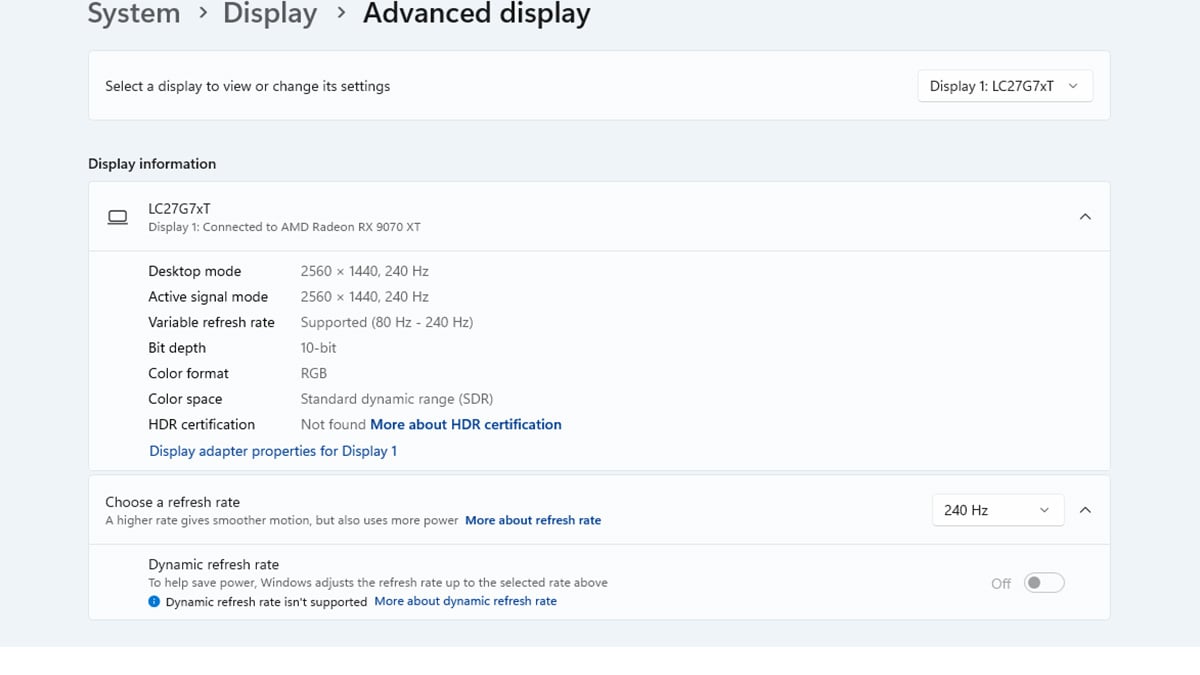
- Refresh rate under Advanced display
Use the recommended resolution for the sharpest image. If text looks too small on one screen, raise the scale slightly. If motion feels choppy, make sure the refresh rate is set to the highest supported option.
This is especially important if you are mixing different displays, such as a high-refresh gaming monitor next to a standard office monitor.
Step 7: Use Windows 11 features to improve the setup
Windows 11 includes a few tools that make multi-monitor setups easier to manage.
Remember window locations
In Display settings under Multiple displays, enable the option to remember window locations based on monitor connection. This helps apps return to the same screens after you unplug and reconnect the laptop.
Snap layouts
Windows 11’s Snap feature makes it easier to organize multiple apps across different screens. Hover over the maximize button on a window to see layout options.
Quick display switching
Press Windows key + P to quickly switch between display modes without digging through settings.
Common multi-monitor problems and fixes
The problem | The fix |
|---|
Monitor not detected | Reconnect the cable, try a different port, or restart the laptop |
Black screen or no signal | Check the monitor’s input source, confirm the cable supports video, and reconnect both ends |
Monitor stuck at 30Hz | You may be using older HDMI hardware; switch to HDMI 2.0 or DisplayPort if available |
Third monitor will not work | Your laptop may have a hardware display limit; a DisplayLink adapter may help |
Text looks blurry | Set the monitor to its recommended resolution and adjust the scale |
Displays keep rearranging after reconnecting | Recheck Display settings and enable remembered window locations |
USB-C dock only powers one monitor | Make sure both the dock and the laptop support multiple display output over USB-C or Thunderbolt |
When to use a dock or DisplayLink adapter
If your laptop cannot run all the monitors you want through its built-in ports alone, you still have options.
A dock is the better choice when your laptop already supports multiple displays and you want a cleaner, easier setup. A dock is ideal for people who regularly connect and disconnect a laptop at a desk.
A DisplayLink adapter is useful when your laptop hits its hardware limit. It uses software and a dedicated chip to add extra display support. This can be a practical workaround, especially for office productivity, though it is not always the best choice for high-performance gaming or color-critical creative work.
Final thoughts
Setting up multiple monitors on a Windows 11 laptop is usually easier than it first appears. Once you identify your ports, choose the right connection method, and arrange the displays correctly in Windows, the setup tends to work smoothly.
For most users, the best path is simple: check your laptop’s video outputs, use a dock if you want the cleanest desk setup, and use Extend these displays for the most useful workflow. If your laptop cannot support enough monitors on its own, a DisplayLink adapter can help fill the gap.
If you are also thinking about upgrading your display setup, Acer offers options at different price points. Readers who want a more premium setup can check out these high-end Acer gaming monitors worth buying, while those looking for a more affordable option can explore these budget Acer Nitro gaming monitors under $250.
With the right setup, even a portable Windows 11 laptop can feel much closer to a full desktop workstation.
FAQ
How many monitors can a Windows 11 laptop support?
That depends on the laptop’s ports, graphics hardware, and whether you use a dock or DisplayLink adapter. Many laptops can support one or two external monitors, while some higher-end systems can handle more.
Can I connect two monitors if my laptop only has one HDMI port?
Yes. If your laptop also has USB-C or Thunderbolt with video output, you can use that for the second monitor. You can also use a dock.
Does every USB-C port support monitors?
No. Some USB-C ports only support charging and data. To connect a monitor, the port must support video output, such as DisplayPort Alt Mode or Thunderbolt.
Is a dock better than plugging monitors in directly?
A dock is usually more convenient, especially for desk setups with two or more monitors. Direct connections are fine too, but a dock reduces cable clutter and makes reconnecting easier.
What is DisplayLink?
DisplayLink is a technology that lets you add more monitors through a special adapter or dock, even if your laptop’s built-in display support is limited. It often requires driver installation.
Recommended Products
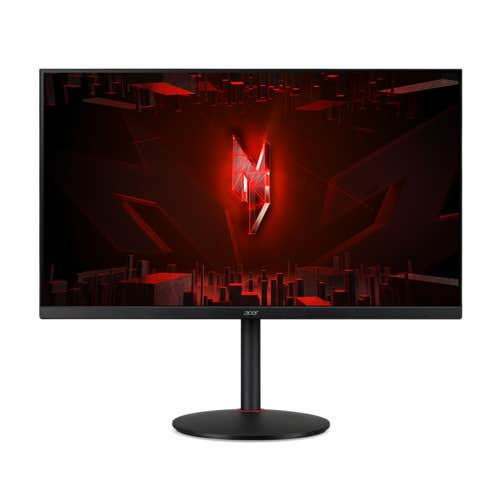
31.5" Acer Nitro XV0 Gaming Monitor
Buy Now |

31.5" Predator XB3 Gaming Monitor
Buy Now |
Acer HDMI Cable
Buy Now |
|---|


