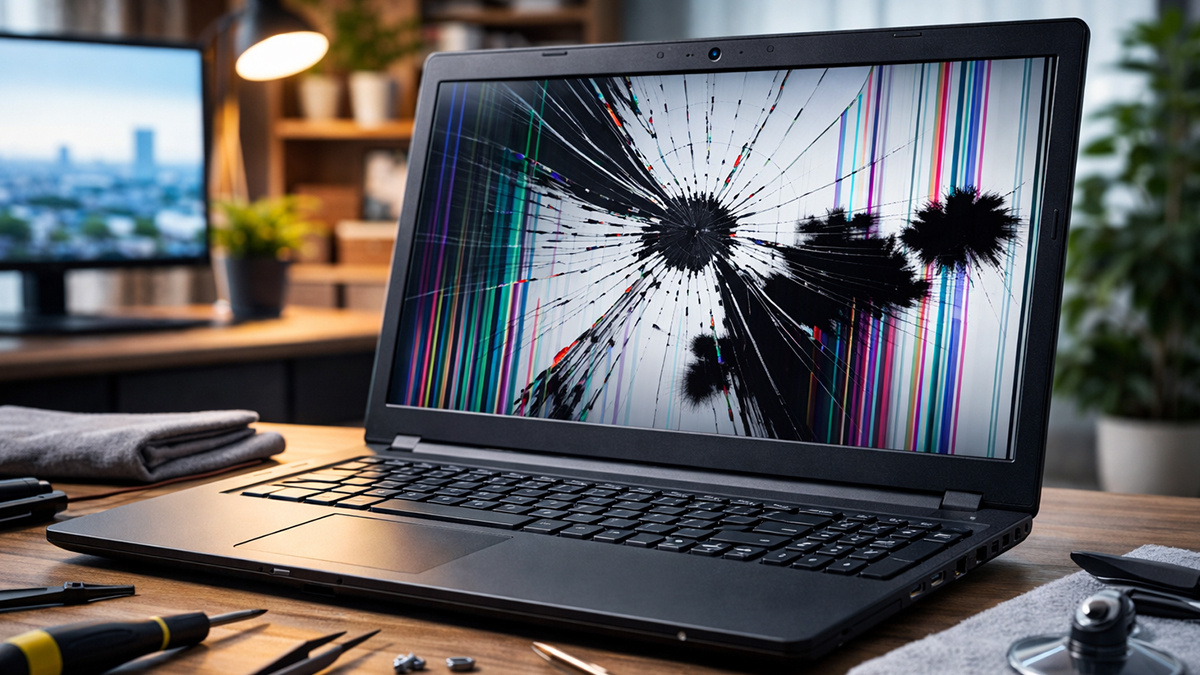
A broken laptop screen can look worse than it is. Maybe you dropped the laptop and now there are cracks across the display. Maybe the screen stays black even though the keyboard lights turn on. Maybe you are seeing flickering, strange colors, vertical lines, or dark blotches that look like spilled ink.
In many cases, a damaged laptop screen does not mean the entire laptop is dead. On most Windows laptops, the display panel is a separate part that can be tested, removed, and replaced without replacing the whole machine. The key is figuring out whether the problem is the screen itself, the display cable, the backlight, or a deeper hardware issue such as the graphics chip or motherboard.
This guide explains how to diagnose a broken laptop screen on a Windows 11 computer, what symptoms usually mean, when a screen replacement makes sense, and when it is smarter to stop and get professional help.
What are the signs of a broken laptop screen?
A laptop screen can fail in more than one way. Some failures are obvious, while others can look like a software or driver problem at first.
Common signs of a broken laptop screen include:
- Cracks in the glass or panel
- Black spots or spreading ink-like patches
- Vertical or horizontal lines
- Flickering or flashing
- A dim image that is barely visible
- A completely black screen while the laptop still seems to run
- Washed-out colors, white screen, or unusual tint
- Dead areas where part of the screen no longer displays anything
- Image distortion that changes when you move the lid
If you have physical cracks or black bleeding inside the panel, the screen is almost certainly damaged and will need replacement. If there is no visible crack, you need to test further before buying parts.
How to tell whether the laptop screen is broken or something else
Before opening the laptop, rule out software and external causes. On a Windows laptop, this is the fastest way to narrow the issue down.
1. Check for obvious physical damage
Start with the simplest check. Look closely at the screen while the laptop is off and while it is on.
You are looking for:
- Hairline cracks
- Pressure marks
- Black blotches
- Bright or dark bands
- Areas where the image appears crushed or leaking
Physical damage inside the panel usually does not heal, improve, or respond to software fixes.
2. Restart the laptop and watch the startup screen
Restart the laptop and pay attention before Windows 11 fully loads.
If the damage is visible during startup, on the brand logo screen, or in the BIOS, the problem is probably hardware rather than Windows. A driver issue normally appears after the operating system starts loading.
3. Test with an external monitor
This is one of the most useful checks.
Connect the laptop to an external monitor or TV using HDMI, DisplayPort, or USB-C if your laptop supports video output. Then press Windows + P and switch between display modes.
What the results usually mean:
- External monitor works normally: the laptop itself is running, so the issue is likely the built-in screen, display cable, or backlight
- External monitor also shows no image or heavy distortion: the problem may be deeper, such as the GPU, motherboard, or system memory
- External monitor works but the built-in screen stays black: the panel, cable, or backlight is the more likely failure point
4. Take a screenshot
This is a simple but useful trick on Windows.
Press Windows + Shift + S or use PrtScn to capture the screen, then open that image on another monitor, another computer, or your phone through cloud sync.
If the screenshot looks normal but your laptop display does not, that strongly suggests the graphics output is fine and the built-in screen is the problem.
5. Check the BIOS or boot menu
Enter the BIOS or boot menu by pressing the key your laptop brand uses during startup, often F2, F10, F12, Esc, or Del. For Acer computers press the F2 button.
If the issue appears there too, it is very likely a hardware issue. BIOS does not rely on your Windows graphics driver, so this test helps separate Windows problems from panel problems.
6. Try the flashlight test
If the screen looks black but you suspect the laptop is still running, shine a bright flashlight at the display from an angle.
If you can see a faint image, the LCD, LED, or OLED may still be producing a picture but the backlight is not working properly. On modern laptops, this usually points to a backlight or power-delivery issue rather than a healthy screen.
7. Move the lid gently
Open and close the lid slowly while watching the display.
If the image flickers, changes color, cuts out, or comes back at certain angles, the display cable may be loose, pinched, or worn near the hinge. This can look like a broken screen even when the panel itself is still usable.
8. Boot into Safe Mode
If the screen issue only appears after Windows loads, try Safe Mode.
Safe Mode loads a basic display driver. If the screen behaves normally there, the issue may be related to the graphics driver, refresh rate settings, or a software conflict rather than the panel.
9. Check Device Manager and graphics drivers
Open Device Manager and look under Display adapters.
Things to try:
- Update the graphics driver
- Roll back the driver if the issue began after an update
- Reinstall the display driver
- Check whether Windows shows any device errors
This will not fix a cracked panel, but it can rule out software causes when there is no visible physical damage.
What different screen symptoms usually mean
Not every display problem points to the same failed part. The symptom often gives you a clue.
Cracked glass or visible fracture
This is the clearest sign the screen is physically broken. The panel will need replacement.
Black ink-like blotches
This usually means the internal LCD, LED, or OLED layers were punctured or crushed. The damage often spreads over time. Replacement is the only real fix.
Vertical or horizontal lines
These can come from a failed panel, damaged gate drivers, or a loose display cable. If the lines change when you move the lid, suspect the cable. If they stay constant, suspect the panel.
White screen
A pure white display can point to a disconnected screen cable, panel failure, or damage to the display circuit.
Black screen with laptop still running
If the fans spin, keyboard lights work, and the laptop responds, but the display is black, the issue may be the screen, backlight, cable, or internal graphics hardware.
Flickering screen
Flickering can come from:
- A damaged panel
- Loose display cable
- Wrong refresh rate
- Graphics driver problems
- Power-related issues
If you see flickering both inside and outside Windows, think hardware first.
Dim image with no brightness
This often points to a backlight issue or power problem.
Can you fix a broken laptop screen without replacing it?
Usually, no.
If the panel is cracked, bleeding, or physically damaged, the fix is replacement rather than repair. Laptop screens are not typically repaired at the layer level by most users or repair shops. They are swapped out as complete parts.
The main exceptions are cases where the problem is not the panel itself, such as:
- A loose or damaged display cable
- A failed hinge that is stressing the cable
- A driver or refresh-rate issue
- A backlight fuse or board-level fault
So the real question is not whether a broken screen can be repaired in place. It is whether the panel is truly broken, or whether another display-related part is causing similar symptoms.
Is it worth replacing a laptop screen?
Often, yes.
Replacing a screen is usually worth it when:
- The laptop is still fast enough for your needs
- The motherboard and storage are fine
- The replacement panel is affordable
- The laptop has useful specs and would cost far more to replace
It may not be worth it when:
- The laptop already has multiple problems
- The hinges, lid, and frame are also badly damaged
- The replacement cost is too close to the value of the laptop
- The laptop has a glued or fused display assembly that makes labor expensive
For many mainstream Windows laptops, a screen replacement can be much cheaper than buying a new machine.
How to find the correct replacement screen
This is where many people make mistakes.
Do not buy a replacement screen based only on the laptop model name. Manufacturers sometimes use multiple panel variations within the same model line.
Important differences can include:
- 30-pin vs 40-pin connectors
- Different refresh rates
- Touch vs non-touch
- Matte vs glossy finish
- Different resolutions such as 1920 x 1080, 2560 x 1600, or 4K
- Bracket placement and mounting style
The safest method is to remove the old screen and read the exact part number printed on the back of the panel. Then search for that exact panel or a confirmed compatible replacement.
Tools you may need
For a standard non-touch Windows laptop screen replacement, you may need:
- Precision Phillips screwdriver set
- Plastic pry tool or spudger
- Tweezers
- Soft cloth to protect the keyboard and new screen
- Replacement adhesive strips, if your laptop uses adhesive
- Small containers for screws
If your laptop uses a heavily glued display assembly, the job becomes more difficult and may require heat, cutting tools, and more risk tolerance.
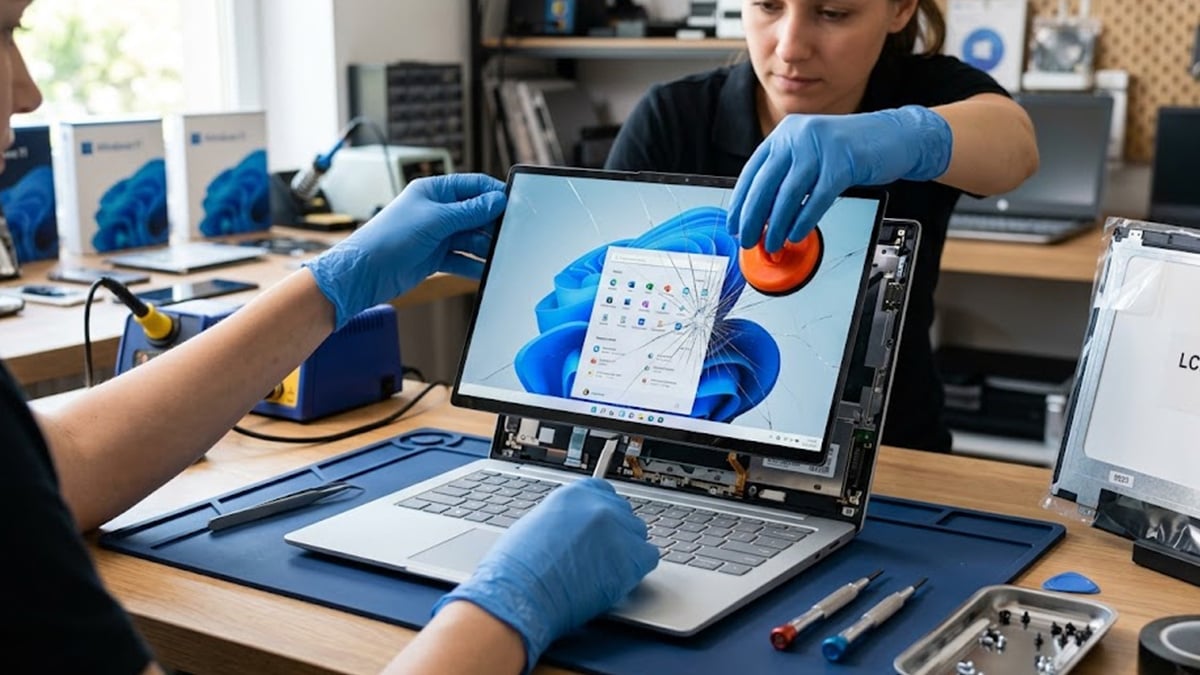
How to replace a broken laptop screen
This section covers the general process for a standard Windows laptop. The exact steps vary by brand and model.
1. Shut down the laptop and disconnect power
Turn the laptop off completely. Unplug the charger.
If the battery is removable, remove it. If the battery is internal, disconnect it as soon as you can after opening the laptop. This matters because working on a live system increases the risk of shorting the backlight circuit or damaging the board.
2. Remove the screen bezel
The bezel is the frame around the display.
Some laptops have hidden screws under rubber covers. Others rely mostly on plastic clips. Use a plastic pry tool and work slowly around the edges. Avoid forcing corners too aggressively, especially near the webcam and hinges.
3. Unscrew or release the panel
Once the bezel is off, you should be able to see how the panel is mounted.
It may be secured by:
- Side brackets and screws
- Top and bottom screws
- Adhesive strips
- Rail-style mounting
Support the screen carefully and lay it forward onto the keyboard with a cloth underneath.
4. Disconnect the display cable
This is one of the most delicate steps.
Most laptop panels use a flat ribbon connector secured with tape. Peel back the tape carefully and slide the connector straight out. Do not yank upward unless the connector style clearly requires it.
If the cable looks frayed, kinked, or pinched, inspect it closely before assuming the panel is the only failed part.
5. Confirm the panel part number
Before installing the new screen, verify the old panel’s part number and connector type. This is your last chance to catch a mismatch before reassembly.
6. Connect the new panel
Attach the cable to the new screen carefully and make sure it sits evenly. Reapply any securing tape.
Before fully reassembling the laptop, test the display. Power the laptop on and check whether you get a normal image. If you do, shut it down again and continue.
7. Reassemble the laptop
Mount the new panel, reinstall screws or adhesive, snap the bezel back into place, and reconnect or reinstall the battery if needed.
Then boot into Windows and test:
- Brightness controls
- Resolution
- Refresh rate
- Touch function, if applicable
- External monitor output
- Lid movement and hinge behavior
Special cases that make the job harder
Some laptops are much more difficult than others.
- Touchscreen laptops: On some models, the touch glass and display are separate. On others, they are fused into one assembly. Fused assemblies are more expensive and harder to replace.
- Ultrabooks with adhesive-mounted screens: Thin laptops often use adhesive instead of screws. That makes removal slower and riskier.
- Convertible laptops and 2-in-1 systems: These can have more complex cable routing and additional touch or digitizer connectors.
- Damaged hinges: If the hinge is broken or pulling away from the lid, simply replacing the screen may not solve the problem. Hinge damage can keep stressing the new panel or cable.
When the problem is not the screen
A laptop screen replacement will not fix every display problem.
You may be dealing with another issue if:
- Both the laptop screen and external monitor show the same severe distortion
- The laptop does not fully boot
- You hear repeated beep codes
- The system crashes under graphics load
- The screen problem started right after a driver update and disappears in Safe Mode
- The image changes mainly when the lid moves, suggesting cable or hinge trouble
In those cases, investigate the GPU, motherboard, RAM, power delivery, or display cable before ordering a panel.
When to get professional repair help
DIY screen replacement is realistic on many Windows laptops, but there are times when professional repair is the better option.
Consider a repair shop or official support channel if:
- The laptop is still under warranty
- The screen assembly is glued and difficult to access
- The model is a premium ultrabook with fragile construction
- The hinges are damaged
- You are not comfortable disconnecting an internal battery
- You suspect motherboard or backlight-circuit damage
- The replacement part is expensive and you do not want to risk breaking it during installation
A professional can also confirm whether the issue is really the display panel before you spend money on parts that may not solve the problem.
If you own an Acer laptop, this is also a good time to check your coverage options. Acer Care Extended Service Plans can help protect your investment after the standard warranty period ends, and eligible customers can also choose Accidental Damage Protection for added peace of mind. That can be especially useful for laptops, where screen damage and other unexpected repairs can quickly become expensive and time-consuming.
To review available plans, you can enter your device serial number or SNID on the Acer Care Extended Service Plans page and see which options apply to your product. Acer is also currently offering 10% off Acer Care Extended Service Plans, with the discount automatically reflected in the cart.
Final thoughts

A broken laptop screen can look like the end of the road, but in many cases, the laptop itself is still perfectly usable. A few simple tests, such as connecting an external monitor, checking the BIOS, taking a screenshot, or using the flashlight test, can help you figure out whether the problem is the screen, the display cable, or a deeper hardware issue.
If the issue turns out to be the laptop display, replacing the screen is often far more affordable than replacing the entire computer. If the repair is not worth it right away, using an external monitor can also be a practical short-term solution that gives your laptop a second life.
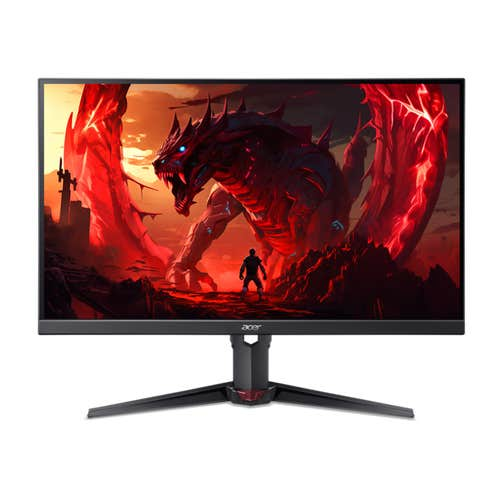
That is also where a good monitor can make a big difference. If you want a stronger setup for gaming, the Acer Nitro Gaming Monitor lineup offers features built for smoother gameplay and a more responsive experience.
If you just need a dependable display for work, browsing, school, or everyday use while your laptop screen is out of commission, the Acer Essential Monitor Family offers a more practical option for general use.
With the right diagnosis, you can decide whether to repair the screen, switch to an external display, or extend the life of your setup in another way without rushing into buying a new laptop.
FAQ
How do I know if my laptop screen is broken or if it is the graphics card?
The fastest check is to connect an external monitor. If the external display works normally but the laptop screen does not, the panel, cable, or backlight is the more likely problem. If both displays fail in the same way, the graphics hardware or motherboard becomes more likely.
Can a cracked laptop screen get worse over time?
Yes. Cracks and internal LCD, LED, or OLED bleeding often spread, especially if pressure continues to be applied to the lid or panel.
Is a black laptop screen always a broken screen?
No. A black screen can also be caused by a bad backlight, loose cable, graphics problem, failed memory, or motherboard issue.
Can I still use a laptop with a broken screen?
Yes, if the rest of the laptop works and you connect it to an external monitor. This can be a temporary workaround while you decide whether to repair it.
How long does a laptop screen replacement take?
For an experienced technician on a standard laptop, it may take less than an hour. For a first-time DIY user, it can take longer, especially if the laptop has hidden clips, adhesive, or a difficult cable layout.
Recommended Products

Predator SpatialLabs View 27 Monitor
Buy Now |

Predator X27U Gaming Monitor
Buy Now |
Nitro XV2 Gaming Monitor
Buy Now |
|---|


